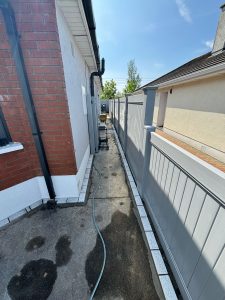
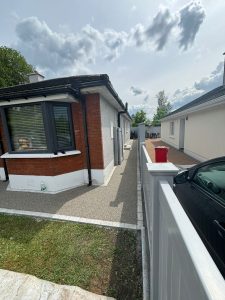
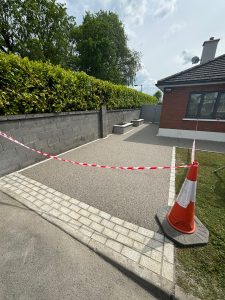
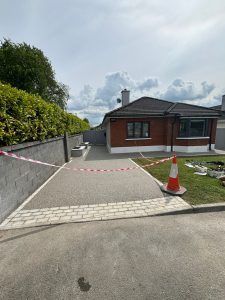
A new Resin Driveway, side entrance and back garden patio in South Dublin
We completed this stunning new resin driveway, and back garden patio paving project at the in May 2024!
The Greystones Paving Contractors team completed this beautiful resin-bound driveway in Dundrum, South County Dublin in May 2024. This project completely transformed the driveway and back garden into a stunning new space. Resin bound driveways are very welll suited to Irish driveways as they create a durable space with great drainage and that feels great underfoot. Here’s a step-by-step guide the process of laying this resin bound driveway in Dundrum:
Step 1: Excavation
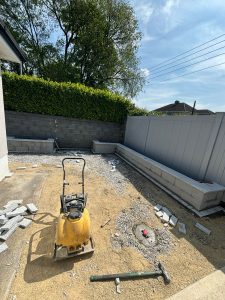
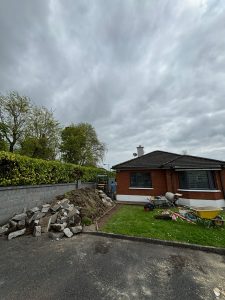
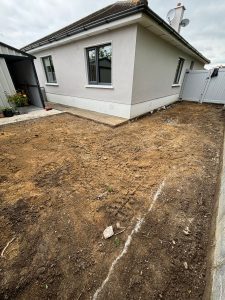
The first step involves excavating the existing driveway and garden. This means removing the old surface and any underlying materials to create a fresh base. We use our specialised machinery to dig deep enough to accommodate a solid base and the resin surface.
Step 2: Laying the Hardcore Base
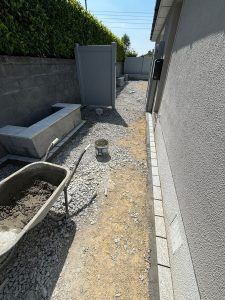
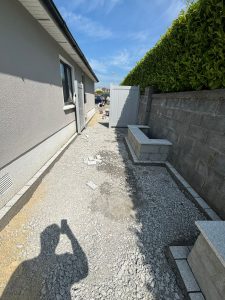
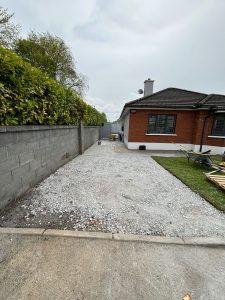
Once the excavation was complete, it was time to lay a hardcore base. This layer is crucial for stability and durability. We use crushed stone, spreading it evenly across the excavated area to ensure a consistent base. Then we use our heavy duty compacter to compact the hardcore thoroughly to create a solid foundation for the resin driveway.
Step 3: Constructing Flower Beds
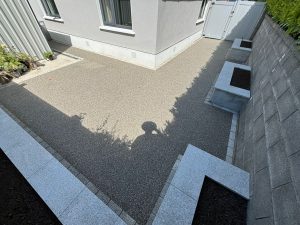
Adding flower beds can enhance the aesthetics of your driveway. In this project, four flower beds were constructed, each with granite capping and a rendered finish. Plan the location and size of your flower beds, then build the retaining walls using bricks or blocks, finishing with a layer of render and granite capping for a polished look that stands out.
Step 4: Installing Granite Cobble Edging
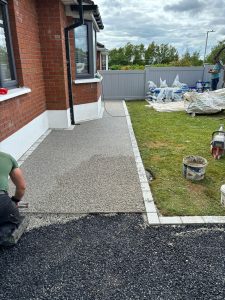
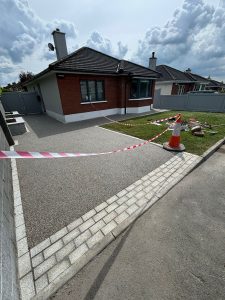
Before laying the resin, we installed a granite cobble edging. This edging not only adds a decorative border but also helps to contain the resin aggregate. We laid the cobbles along the perimeter of the driveway, ensuring they are level and securely in place.
Step 5: Laying the Resin Bound Aggregate
The final step is laying the resin bound aggregate. We mix the resin with the aggregate, and ensure that there’s a consistent blend. Then we poured the mixture onto the prepared base, spreading it evenly by hand using a trowel. We smooth the surface to the desired thickness, making sure there are no air pockets or uneven areas. Then we allow the resin to cure for 1 to 2 days before the new driveway is ready to use.
Would you like to transform your garden with a new resin driveway?
We have a gallery of resin driveway photos that you can view.
If you would like to plan a new driveway paving or garden project, contact Greystones Paving to request a free call out and consultation.
We also have another step by step resin driveway project that we posted in January.
We also have an instagram page where we post some of our jobs photos
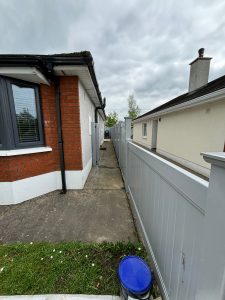
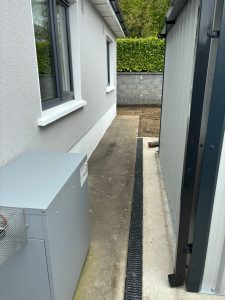
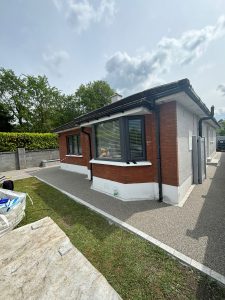
This resin driveway and back garden project turned produced amazing results that you can see in our pictures below:
